如何在SpriteKit中模糊场景?
如何在SpriteKit的SKScene中为所有节点添加高斯模糊(没有固定数量的节点)? 稍后会在场景的顶部添加标签,这将是我的暂停菜单。 几乎任何事情都会有帮助!
像这样的东西是我要去的: 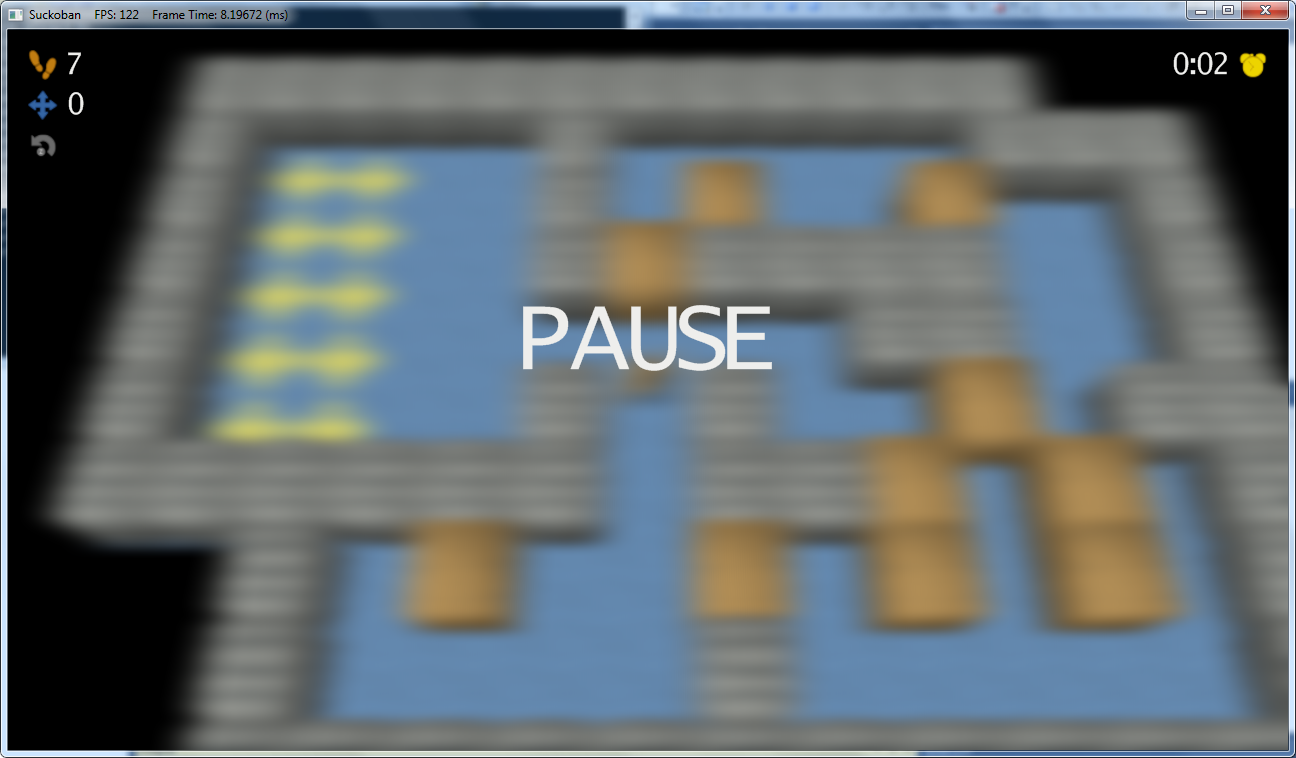
你正在寻找的是一个SKEffectNode 。 它将CoreImagefilter应用于自身(以及所有的子节点)。 只要把它作为你的场景的根视图,给它一个CoreImage的模糊滤镜,然后你就设置好了。
例如,我设置了一个SKScene的SKEffectNode因为它是第一个子节点和一个属性,它拥有对它的一个弱引用:
-(void)createLayers{ SKEffectNode *node = [SKEffectNode node]; [node setShouldEnableEffects:NO]; CIFilter *blur = [CIFilter filterWithName:@"CIGaussianBlur" keysAndValues:@"inputRadius", @1.0f, nil]; [node setFilter:blur]; [self setRoot:node]; }
以下是我使用的方法(animation!)模糊的场景:
-(void)blurWithCompletion:(void (^)())handler{ CGFloat duration = 0.5f; [[self root] setShouldRasterize:YES]; [[self root] setShouldEnableEffects:YES]; [[self root] runAction:[SKAction customActionWithDuration:duration actionBlock:^(SKNode *node, CGFloat elapsedTime){ NSNumber *radius = [NSNumber numberWithFloat:(elapsedTime/duration) * 10.0]; [[(SKEffectNode *)node filter] setValue:radius forKey:@"inputRadius"]; }] completion:handler]; }
请注意,就像你一样,我使用这个作为暂停屏幕,所以我栅格化了场景。 如果你想让你的场景在模糊的同时进行animation处理,那么你可能应该把你的场景设置为NO 。
如果你对模糊过渡的animation不感兴趣,你可以将滤镜的初始半径设置为10.0f左右,当你打开它时做一个简单的setShouldEnableEffects:YES 。
另请参见: SKEffectNode类参考
更新:
见下面Markus的评论。 他指出, SKScene实际上是SKEffectNode一个子类,所以你真的应该能够在场景中调用所有这些,而不是在节点树中任意插入一个效果节点。
通过使用@Bendegúz的回答和来自http://www.bytearray.org/?p=5360的代码添加到此;
我能够在IOS 8 Swift中完成当前的游戏项目。 通过返回一个SKSpriteNode而不是一个UIImage来做一点不同的事情。 另外请注意,我的解包currentScene.view! 调用是一个弱的GameScene引用,但应该基于你调用这些方法的self.view.frame工作。 我的暂停屏幕在一个单独的HUD类中被调用,因此为什么会是这种情况。
我会想象这可以做得更优雅,也许更像是@ jemmons的答案。 只是想帮助其他人试图在SpriteKit项目中使用全部或部分Swift代码编写代码。
func getBluredScreenshot() -> SKSpriteNode{ create the graphics context UIGraphicsBeginImageContextWithOptions(CGSize(width: currentScene.view!.frame.size.width, height: currentScene.view!.frame.size.height), true, 1) currentScene.view!.drawViewHierarchyInRect(currentScene.view!.frame, afterScreenUpdates: true) // retrieve graphics context let context = UIGraphicsGetCurrentContext() // query image from it let image = UIGraphicsGetImageFromCurrentImageContext() // create Core Image context let ciContext = CIContext(options: nil) // create a CIImage, think of a CIImage as image data for processing, nothing is displayed or can be displayed at this point let coreImage = CIImage(image: image) // pick the filter we want let filter = CIFilter(name: "CIGaussianBlur") // pass our image as input filter.setValue(coreImage, forKey: kCIInputImageKey) //edit the amount of blur filter.setValue(3, forKey: kCIInputRadiusKey) //retrieve the processed image let filteredImageData = filter.valueForKey(kCIOutputImageKey) as CIImage // return a Quartz image from the Core Image context let filteredImageRef = ciContext.createCGImage(filteredImageData, fromRect: filteredImageData.extent()) // final UIImage let filteredImage = UIImage(CGImage: filteredImageRef) // create a texture, pass the UIImage let texture = SKTexture(image: filteredImage!) // wrap it inside a sprite node let sprite = SKSpriteNode(texture:texture) // make image the position in the center sprite.position = CGPointMake(CGRectGetMidX(currentScene.frame), CGRectGetMidY(currentScene.frame)) var scale:CGFloat = UIScreen.mainScreen().scale sprite.size.width *= scale sprite.size.height *= scale return sprite } func loadPauseBGScreen(){ let duration = 1.0 let pauseBG:SKSpriteNode = self.getBluredScreenshot() //pauseBG.position = CGPointMake(CGRectGetMidX(self.frame), CGRectGetMidY(self.frame)) pauseBG.alpha = 0 pauseBG.zPosition = self.zPosition + 1 pauseBG.runAction(SKAction.fadeAlphaTo(1, duration: duration)) self.addChild(pauseBG) }
这是我暂停屏幕的解决scheme。 它会截图,模糊,然后用animation显示。 我想你应该这样做,如果你不想浪费太多的FPS。
-(void)pause { SKSpriteNode *pauseBG = [SKSpriteNode spriteNodeWithTexture:[SKTexture textureWithImage:[self getBluredScreenshot]]]; pauseBG.position = CGPointMake(CGRectGetMidX(self.frame), CGRectGetMidY(self.frame)); pauseBG.alpha = 0; pauseBG.zPosition = 2; [pauseBG runAction:[SKAction fadeAlphaTo:1 duration:duration / 2]]; [self addChild:pauseBG]; }
这是辅助方法:
- (UIImage *)getBluredScreenshot { UIGraphicsBeginImageContextWithOptions(self.view.bounds.size, NO, 1); [self.view drawViewHierarchyInRect:self.view.frame afterScreenUpdates:YES]; UIImage *ss = UIGraphicsGetImageFromCurrentImageContext(); UIGraphicsEndImageContext(); CIFilter *gaussianBlurFilter = [CIFilter filterWithName:@"CIGaussianBlur"]; [gaussianBlurFilter setDefaults]; [gaussianBlurFilter setValue:[CIImage imageWithCGImage:[ss CGImage]] forKey:kCIInputImageKey]; [gaussianBlurFilter setValue:@10 forKey:kCIInputRadiusKey]; CIImage *outputImage = [gaussianBlurFilter outputImage]; CIContext *context = [CIContext contextWithOptions:nil]; CGRect rect = [outputImage extent]; rect.origin.x += (rect.size.width - ss.size.width ) / 2; rect.origin.y += (rect.size.height - ss.size.height) / 2; rect.size = ss.size; CGImageRef cgimg = [context createCGImage:outputImage fromRect:rect]; UIImage *image = [UIImage imageWithCGImage:cgimg]; CGImageRelease(cgimg); return image; }
这是在没有图层的情况下在swift 2中完成的另一个例子:
func blurWithCompletion() { let duration: CGFloat = 0.5 let filter: CIFilter = CIFilter(name: "CIGaussianBlur", withInputParameters: ["inputRadius" : NSNumber(double:1.0)])! scene!.filter = filter scene!.shouldRasterize = true scene!.shouldEnableEffects = true scene!.runAction(SKAction.customActionWithDuration(0.5, actionBlock: { (node: SKNode, elapsedTime: CGFloat) in let radius = (elapsedTime/duration)*10.0 (node as? SKEffectNode)!.filter!.setValue(radius, forKey: "inputRadius") }))
}
Swift 3更新:这是@Chuck Gaffney的答案更新了Swift 3.我知道这个问题被标记为objective-c,但是这个页面在Google中名列第二,因为“swritekit blur”很快。 我改变了currentScene 自我 。
func getBluredScreenshot() -> SKSpriteNode{ //create the graphics context UIGraphicsBeginImageContextWithOptions(CGSize(width: self.view!.frame.size.width, height: self.view!.frame.size.height), true, 1) self.view!.drawHierarchy(in: self.view!.frame, afterScreenUpdates: true) // retrieve graphics context _ = UIGraphicsGetCurrentContext() // query image from it let image = UIGraphicsGetImageFromCurrentImageContext() // create Core Image context let ciContext = CIContext(options: nil) // create a CIImage, think of a CIImage as image data for processing, nothing is displayed or can be displayed at this point let coreImage = CIImage(image: image!) // pick the filter we want let filter = CIFilter(name: "CIGaussianBlur") // pass our image as input filter?.setValue(coreImage, forKey: kCIInputImageKey) //edit the amount of blur filter?.setValue(3, forKey: kCIInputRadiusKey) //retrieve the processed image let filteredImageData = filter?.value(forKey: kCIOutputImageKey) as! CIImage // return a Quartz image from the Core Image context let filteredImageRef = ciContext.createCGImage(filteredImageData, from: filteredImageData.extent) // final UIImage let filteredImage = UIImage(cgImage: filteredImageRef!) // create a texture, pass the UIImage let texture = SKTexture(image: filteredImage) // wrap it inside a sprite node let sprite = SKSpriteNode(texture:texture) // make image the position in the center sprite.position = CGPoint(x: self.frame.midX, y: self.frame.midY) let scale:CGFloat = UIScreen.main.scale sprite.size.width *= scale sprite.size.height *= scale return sprite } func loadPauseBGScreen(){ let duration = 1.0 let pauseBG:SKSpriteNode = self.getBluredScreenshot() pauseBG.alpha = 0 pauseBG.zPosition = self.zPosition + 1 pauseBG.run(SKAction.fadeAlpha(to: 1, duration: duration)) self.addChild(pauseBG) }
Swift 4:
把这个添加到你的gameScene中,如果你想模糊场景中的所有东西:
let blur = CIFilter(name:"CIGaussianBlur",withInputParameters: ["inputRadius": 10.0]) self.filter = blur self.shouldRasterize = true self.shouldEnableEffects = false
当你想使用它时,改变self.shouldEnableEffects = true。
